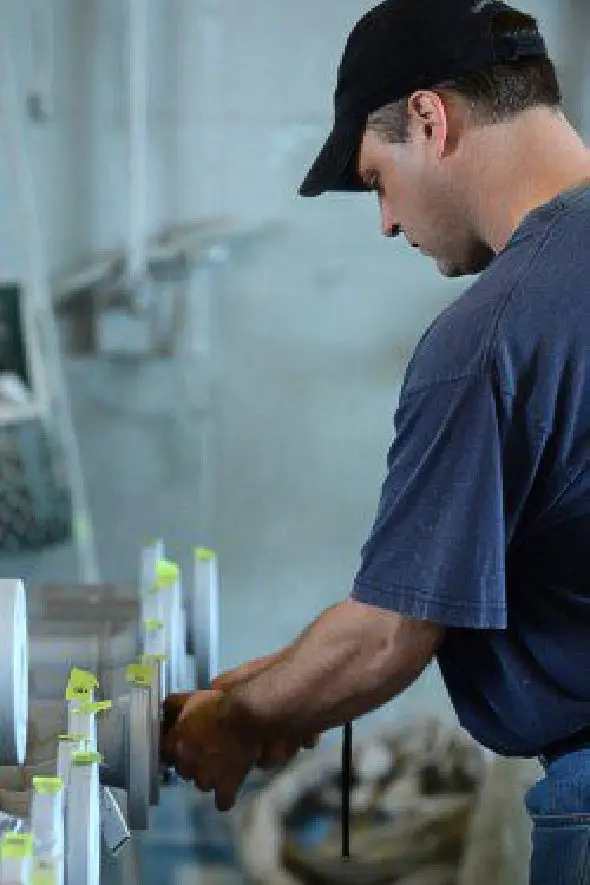
With highly trained professional technicians, being smaller means we’re able to run things with clear and easy to understand direction, and it allows us to make sure our application and quality control measures continue to lead the industry.
Brother’s Process
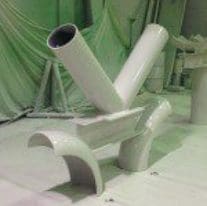
Our processes have been refined over time to ensure the highest level of quality control and quality assurance. Every job is different. To give you an idea of how we go about doing what we do, here’s the process we would take to perform an internal lining application.
Project Quote & Handoff
It starts with straight talk, a pre-job conference to define the scope of the job and to clarify any specifications, or third-party requirements. This is followed by a price quote that is submitted for your approval. Once its approved and a purchase order is issued, we get down to work.
Pre-blast Inspection
A pre-job inspection is done as to confirm:
- Welds and radiuses are acceptable as per manufacturing and specification requirements.
- The substrate is free of oil, grease and other deleterious materials.
- Ambients are checked and recorded prior to blasting as per owner’s specification and industry standards.
Sandblasting
Piping is internally cleaned to NACE 1/SSPC-SP5 as a minimum and a sufficient profile is achieved to the manufacturer’s requirements.
- The exterior of the pipe is cleaned as per manufacturer’s recommended NACE/SSPC requirements.
- Prior to coating the surface profile is measured using Testex tape as per NACE RP0287-95 and recorded in Brother’s QC documentation.
- Ambients are checked (see below). Recorded during blasting operations.
- Chloride tests are conducted for soluble salts as per ISO 8502-05 Chloride Tube.
Coating & Applications
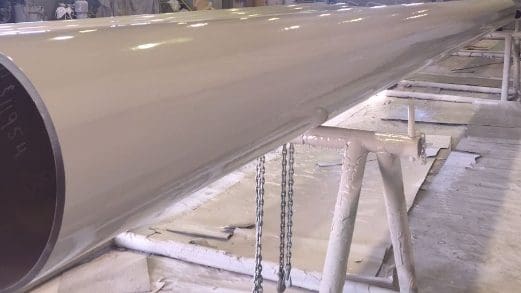
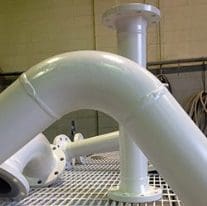
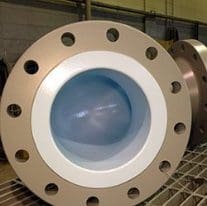
Once the equipment is all prepped and ready to go, we apply an internal coating — a minimum of two to three coats of the specified, or recommended, liquid epoxy to achieve a DFT of 10.0 — 15.0mils. A thorough inspection is done between each coat.
- Coating thickness is verified after each coat using a calibrated digital mil thickness gauge. Results are recorded on Brother’s QC document.
- Defect repairs are performed between coats as per the manufacturer’s product data.
- Ambients are checked and recorded during coats, as per owner’s instructions and manufacturers product data.
If External Coating is Required
An external coating (if required) is then applied. A minimum of one coat of the recommended, or specified, product will be applied to achieve manufacturer recommended mil thickness.
Quality Assurance
Once the desired internal coating thickness is achieved the internal coating is Holiday tested using a calibrated 67.5 volt wet sponge detector as per NACE RPO188-99 Specification. Results are recorded in Brother’s QC document.
- Any external coating thickness is checked with an electronic mil guage and recorded on Brother’s QC document.
- Coating is force cured as per manufacturer product data and recorded on Brother’s QC document.
Release & Shipping
After load check and final inspection, the job is prepped for shipment.
- Flange covers and any special Dunnage protection is addressed.
- At this time, we’ll contact you to coordinate shipping.
- A copy of the completed QC package is shipped with your job.

Talk To Us About Your Next Project
We’ve been supplying the oil and gas and water treatment industries with corrosion prevention for close to three decades. If there’s an application you’ve been wondering about, chances are we’ve been there and done that.
Want to know more about one of the projects we’ve done? Looking for a certain type of project? Reach out today.
